The support we get from our luthier community is amazing.
Thanks to everyone for engaging, sharing, and commenting on social
media. Without your efforts we wouldn't be able to find amazing
projects like this one. If you're interested in finishing your own
guitar, head to our Facebook page and enter our current contest for
a Guitar Finishing Kit!
This month's Guitar of the Month comes from Mike Forrester, and
this is his story.
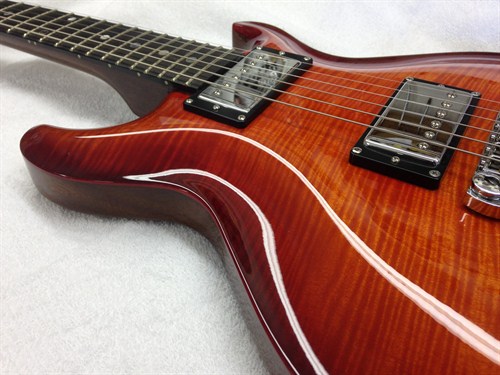
My custom carved top doublecut guitar features a AAAA flamed
European Maple top, and a one-piece Honduras Mahogany back and
neck. The peghead veneer and fingerboard are African Ebony.
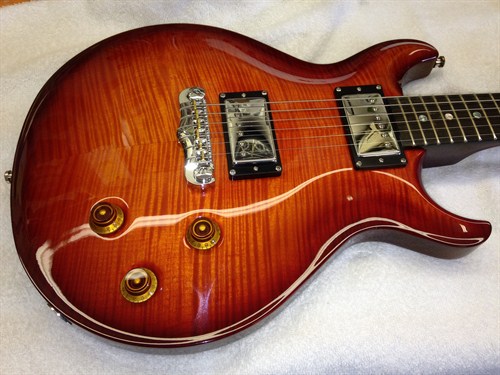
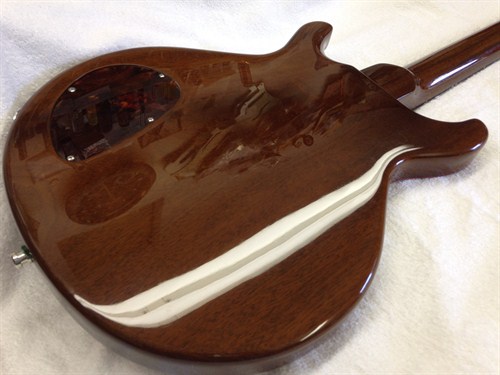
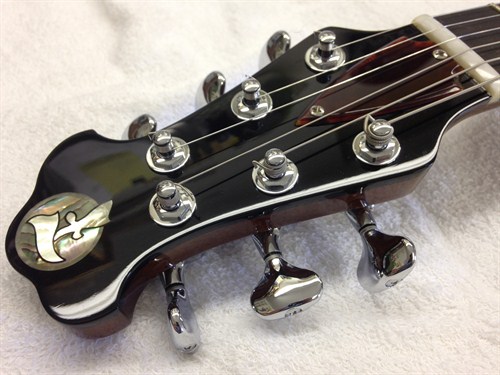
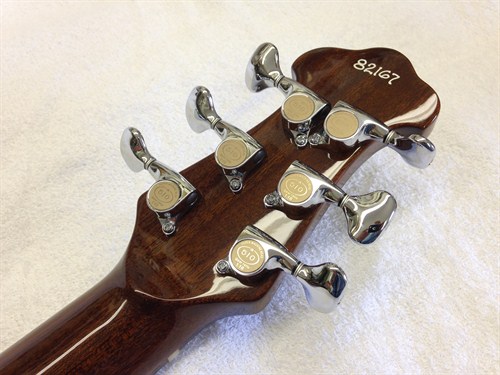
After I've finished final shaping of the entire guitar, I
prepare the mahogany for the first coat of thinned Behlen's Stringed Instrument
Lacquer by sanding the back and neck to 220 grit along the
grain. The maple top is sanded to 320 prior to the custom-mixed
amber StewMac Colortone stain. My daughter chose the Sunburst from
a photo she saw, and we recreated it one tint at a time. There are
a total of 4 separate custom-mixed tints on this guitar.
I follow the amber stain with 2 thinned lacquer wash coats,
scuffed between coats.
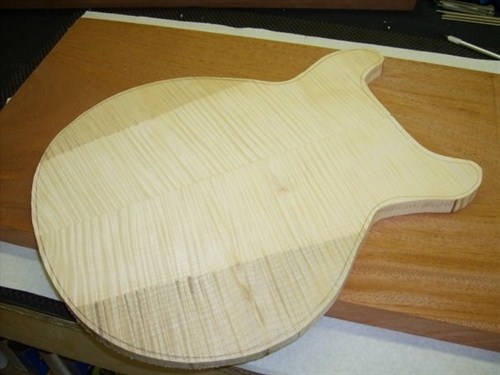
Next comes the Pore-O-Pac grain filler on the mahogany.
It is left to haze, and then lightly scuffed off with 320 grit. I
go against the directions and block-scuff longitudinally WITH the
grain using a hard rubber sanding block behind the 320.
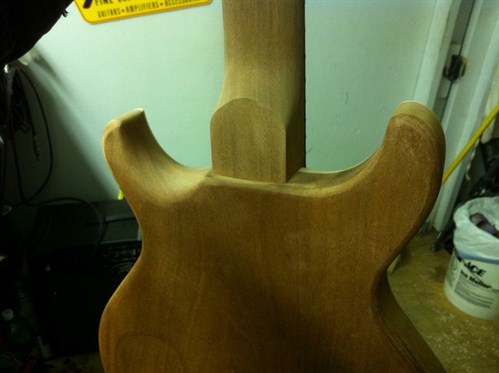
I follow the filler step with ONE coat of Vinyl Sealer on the entire guitar. Scuff
longitudinally again with 320. Next comes the Gloss Stringed Instrument
Lacquer. I start with one coat of clear, and then follow with
my various shader coats. All shader tints are mixed into 50/50
thinned Gloss Stringed Instrument Lacquer. I skip the scuff steps
between the shaders.
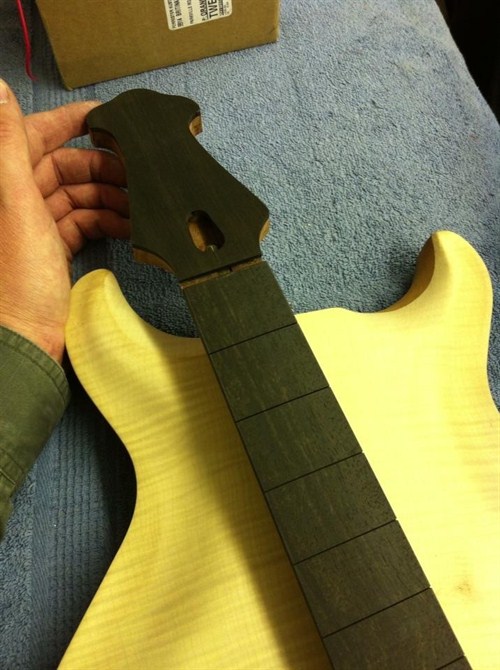
After the shaders I move on to clear. At this point I step up my
mix ratio to roughly 1/3 thinner to 2/3 lacquer. I lightly scuff
between these coats with 400 grit.
How many total coats depends on the depth of color, and the final
finish thickness I'm shooting for. I've found that 10 coats of
clear, sanded level between coats, usually does the trick.
After the finish has cured nice and tight and hard, I wet sand
with varying grits of wet or dry sandpaper, starting with 1000 grit
and ending with 2000.
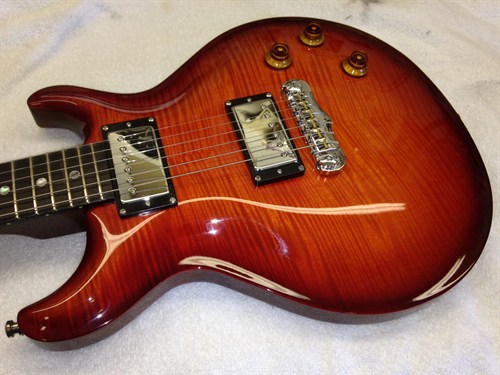
My favorite buffing compound is Diamond Cut by Meguiar's. I use an
orbital buffer with a lamb's wool pad......a carryover from my
custom motorcycle paint days. I will eventually move on to a
pedestal buffer, but for now I'm comfortable with my orbital
method.
We want to thank Mike for sharing his process with us. If
you have any questions about the guitar, our products, or anything
touch up related, feel free to share your thoughts with us on
our Facebook, Twitter, Pinterest, or Instagram! Stay tuned for the next
blog post - there's something new every Friday!